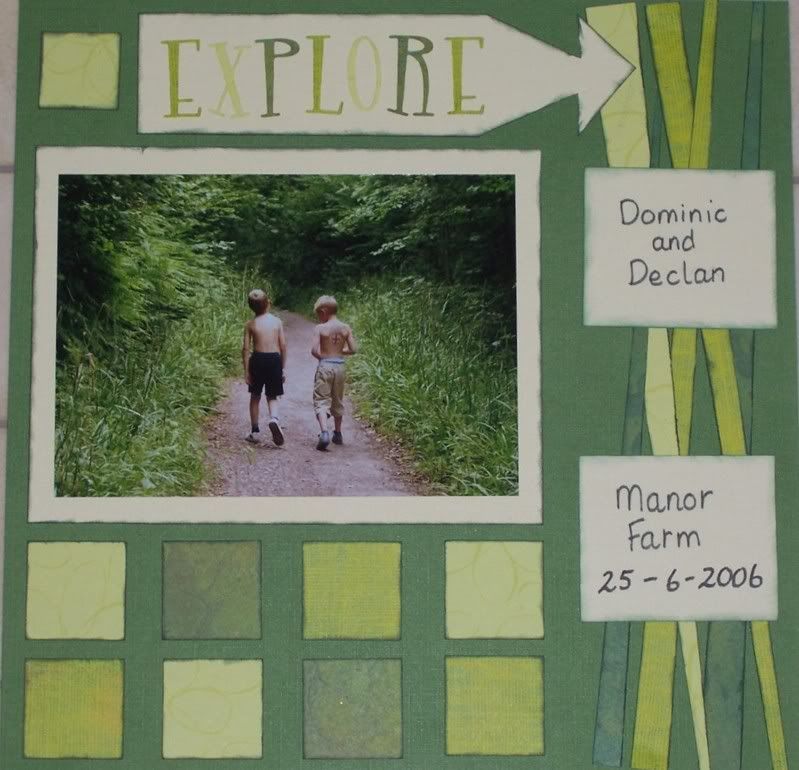
Here is the class that i designed and taught at the crop yesterday. If you wish to do this you can Download the instructions.
This is a sketch-based layout class designed to be a quick and easy, but effective, way of getting photos into albums.
One 5 x7 photograph, landscape or portrait
2 sheets of toning/contrasting cardstock
Several pieces of patterned paper – they must be 12 in long, but you can use part-sheets.
Creative Memories square maker if you have one!
Other embellishments you wish to use, but remember the emphasis here is on Quick and Easy!!

Mount your photo onto cardstock and place on the background. Cut 12 in strips from several patterned papers and layer them down the RHS. Cut squares from the patterned paper and place them under the photograph. See if you want to ink the edges of the patterned pieces – I always do! Allowing room at the top for your title, stick all these bits down.
Sort out how you want your journaling box to look – big, small, even two - and cut them from cardstock to match the mat
Add small embellishments to the squares, or replace them with flowers, or even tiny photos.Use ribbon or fibre instead of the paper strips.
Handwrite or type journaling. Stick journalling block(s) over the strips on the RHS
Use stickers, diecuts, stamps, chipboard for your title
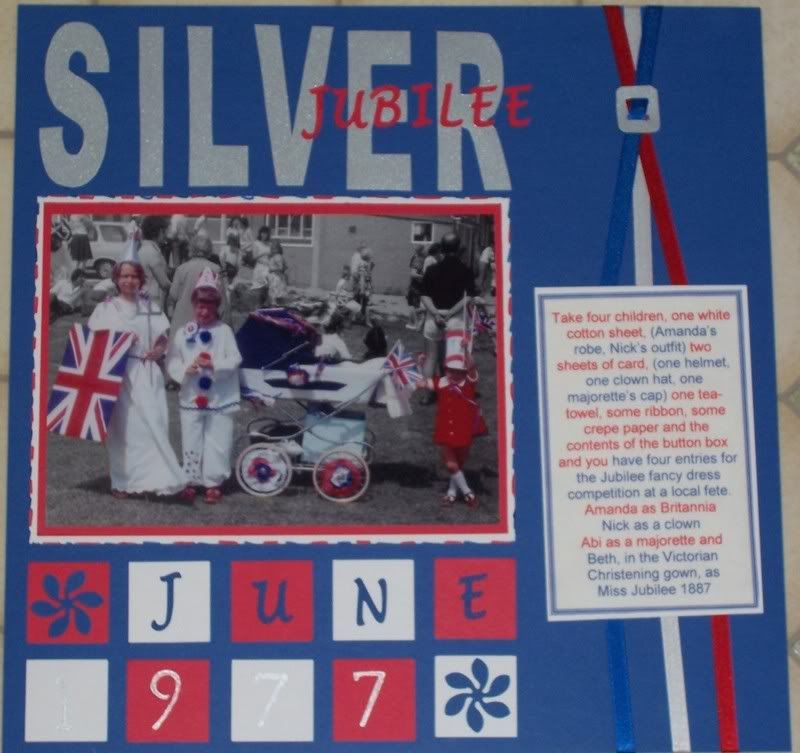
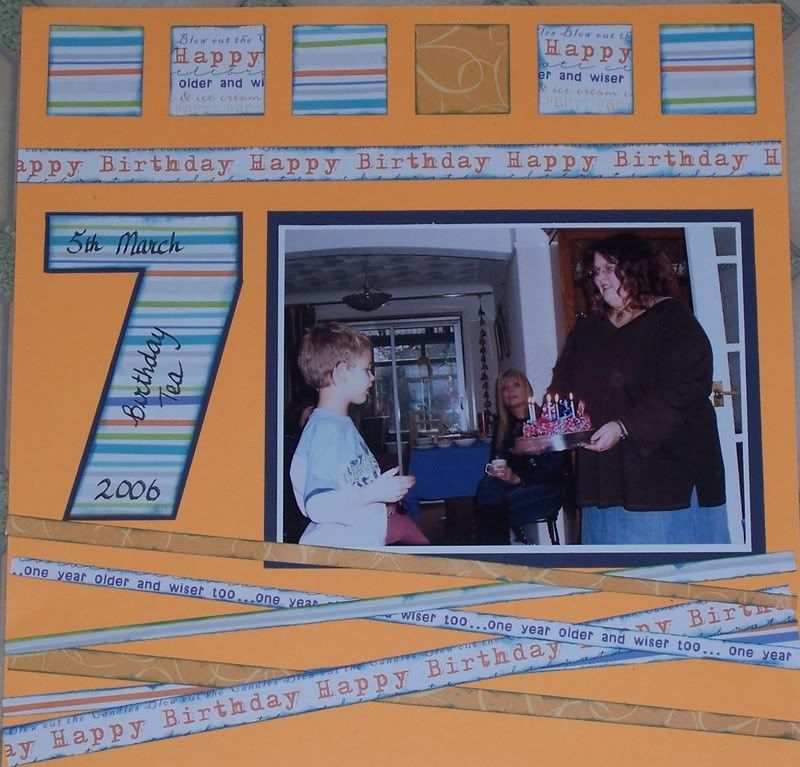
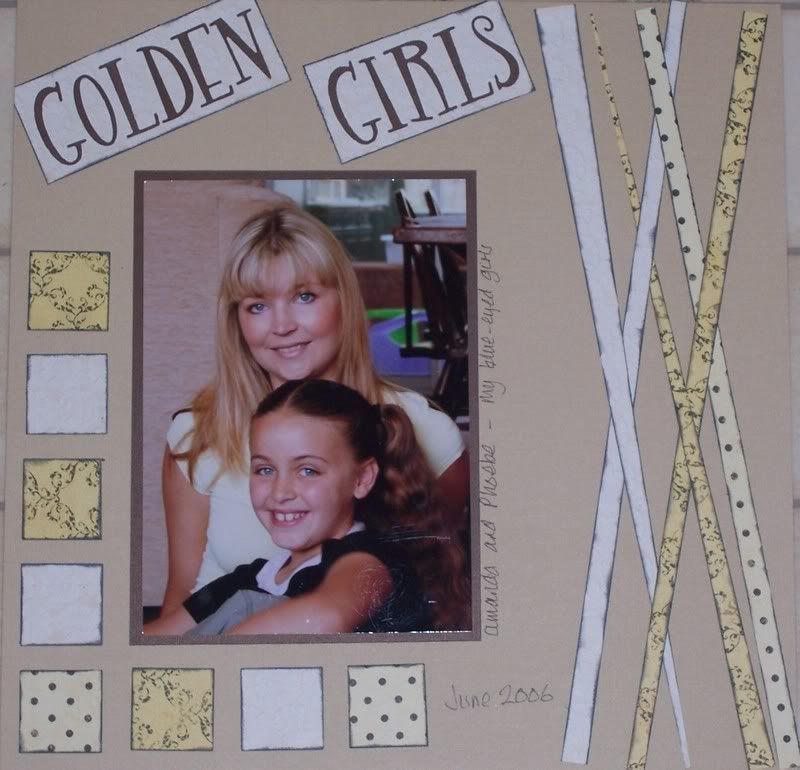

 Each Page is different so there is a pocket page that has its own little book. A door page with a window so it hides a photo behind. A fold out page that can be used as a normal card (I saw this as a template on the stampington & company website). An Acetate page that was first taught to me by Kirsty Wiseman. An Envelope page that is used for tags and other memorabilia. Then lastly the back cover.